Integration guide: WhatsApp agents for the ultimate power play
Last Updated
September 10, 2024

Zach Spirer
Read Time

Summary
Lorem ipsum dolor sit amet, consectetur adipiscing elit. Suspendisse varius enim in eros elementum tristique. Duis cursus, mi quis viverra ornare, eros dolor interdum nulla, ut commodo diam libero vitae erat. Aenean faucibus nibh et justo cursus id rutrum lorem imperdiet. Nunc ut sem vitae risus tristique posuere.
What’s on this page
Kore.ai is platform agnostic, so you can integrate advanced AI with all of your preferred communication channels–including WhatsApp. Below is a guide on how to get started with building an AI chatbot for WhatsApp.
Sign up for a Kore.ai account
The first step is to sign up for an account on the Kore.ai XO Platform.
Navigate to your workspace
Once signed up, navigate to your workspace where you can find and create new AI chatbots.

Set up a WhatsApp integration
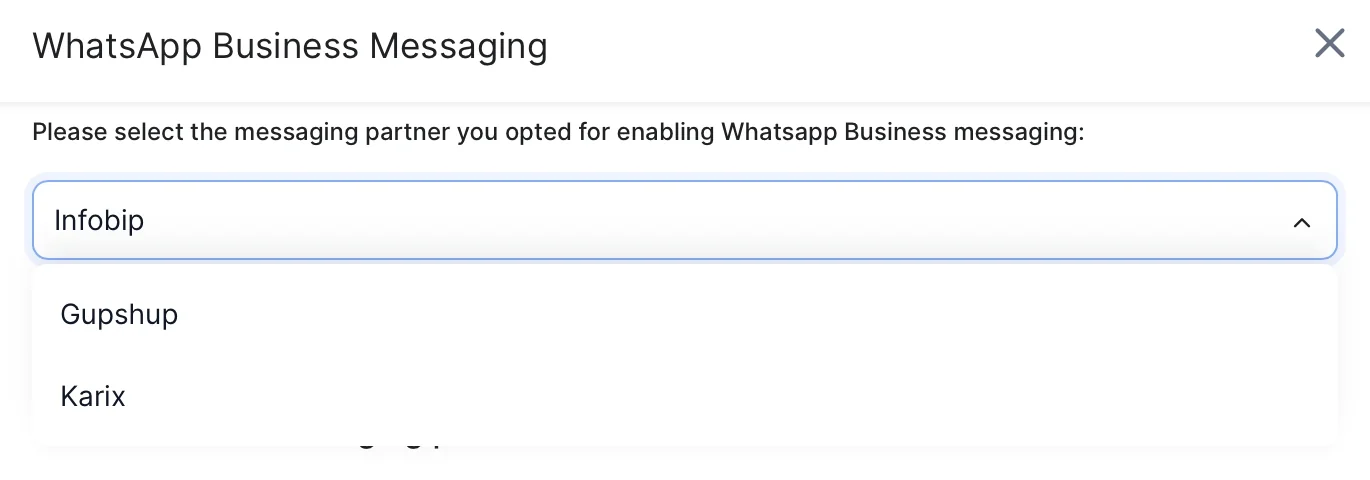
Kore.ai offers three WhatsApp integration partners: InfoBIP, Gupshup, and Karix. We recommend InfoBIP for Latin America and Gupshup for APAC due to ease of implementation.
For this example, we’ll focus on InfoBIP.
Prepare to deploy
Enable the WhatsApp Business Channel under "Deploy > Enterprise Business Channels".
Refer to the InfoBIP documentation provided by Kore.ai: "WhatsApp - Adding the WhatsApp Business Messaging Channel." This provides a step-by-step guide for adding the InfoBIP WhatsApp channel integration within Kore.ai.
Configure
Within your workspace, once you select the InfoBIP channel, you'll go to the configurations where you'll follow these next steps:
1) Provide the InfoBIP phone number, base URL, usernames and passwords
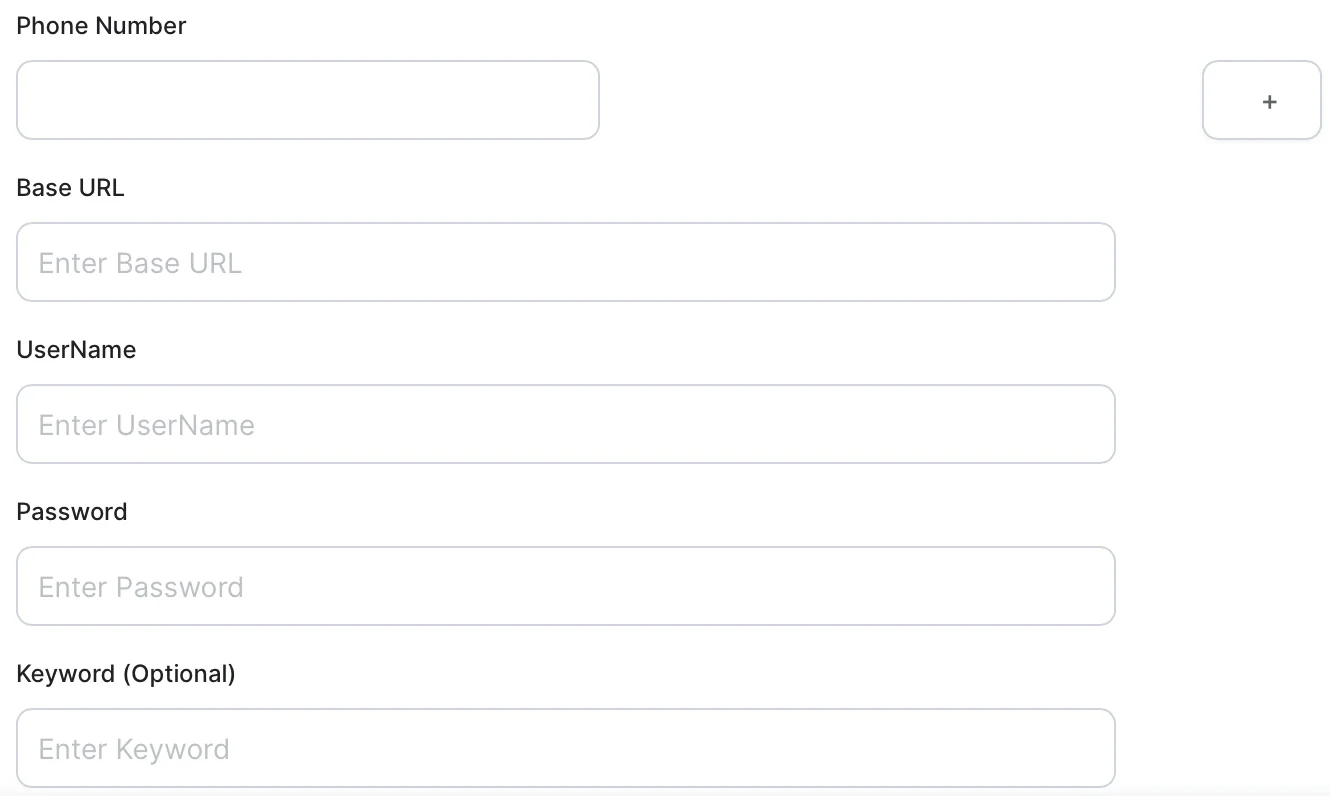
2) Enable the channel and AI chatbot. Make sure your bot's dialog tasks are built before enabling the integration.

And you’re ready to go!
Share